Collard Greens – An Overview
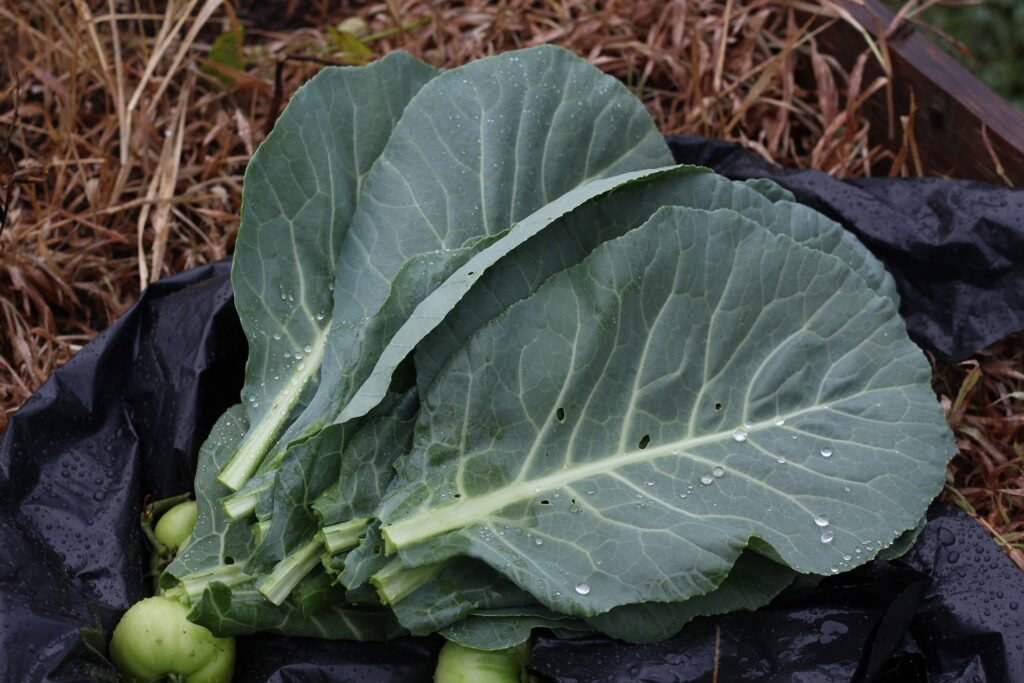
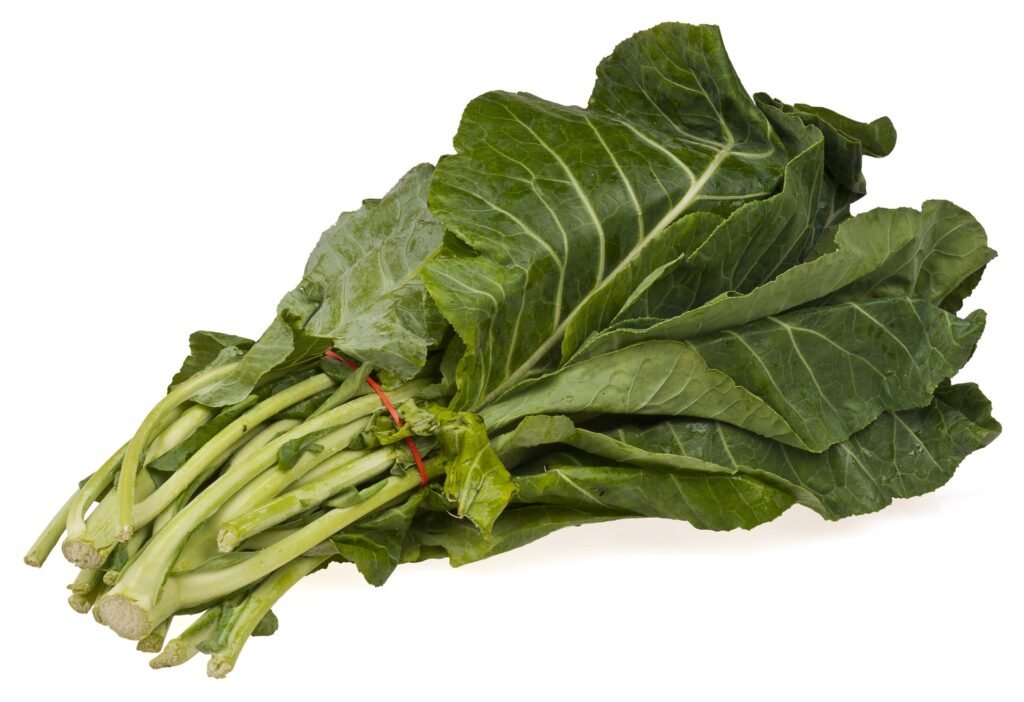
Collard greens (Brassica oleracea var. acephala) are like the superheroes of leafy greens. They don’t form tight heads like cabbage but flaunt large, waxy leaves that pack a punch of nutrition. Let’s dive into the world of collard greens and learn how to grow them step by step!
1. Choosing the Right Seeds
Start your collard adventure by selecting top-notch seeds. Head to your local nursery or garden center and look for high-quality collard green seeds. Opt for varieties that can handle the heat – collards love the sun! 🌞
2. Timing Is Everything
Collards thrive in cool weather, making them perfect for spring and fall. Here’s the secret: sow the seeds about two weeks before your last spring frost date. You can also start them indoors earlier and plant the seedlings around your last frost date – they can handle chilly spring weather. For a fall harvest, plant in mid-summer, about six to eight weeks before the first fall frost. With protection, you can even harvest collard greens well into winter. 🌿
3. Sun, Soil, and Space
Collards soak up the sun! Find a sunny spot in your garden – think 6 to 8 hours of direct sunlight per day. The soil should be well-draining and moderately fertile. Mix in some compost or aged manure to keep your collards happy. Raised beds work wonders too! 🌱

4. Planting Your Leafy Heroes
Sow the seeds 1/4 to 1/2 inch deep. Collards are large, open plants. You can space them 18 to 24 inches apart or plant them more thickly and thin them as they grow. In warmer zones, plant in fall for a winter harvest – cool weather sweetens these greens. 🌱
5. Tender Loving Care
Keep your collards hydrated during hot spells. Water evenly and consistently – they’ll thank you with healthy growth. Trim off any flower stalks that appear; they signal the end of the season. And watch out for pests – show them the garden gate! 🚪
6. Harvesting the Green Goodness
Around 55 to 75 days after planting, your collards will be ready. Harvest from the bottom up – start with the outer leaves. Twist them gently until they break free. Voilà! You’ve got homegrown, nutrient-packed collard greens. 🥬
Say goodbye to store-bought greens and embrace the satisfaction of harvesting fresh collards from your backyard. Happy gardening, leaf-loving friends! 🌱🥗
Related Reading
Southern Living – https://www.southernliving.com/garden/grow-collard-greens
Epic Gardening – https://www.epicgardening.com/growing-collard-greens/

Leave a Reply