Watercress – An Overview
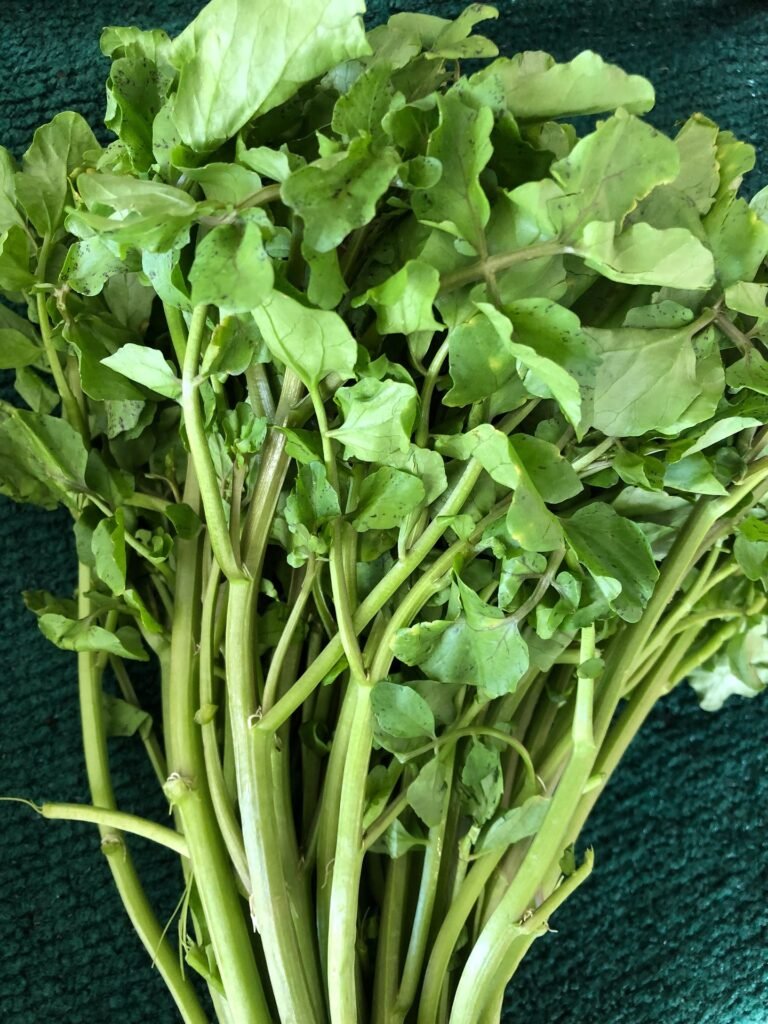
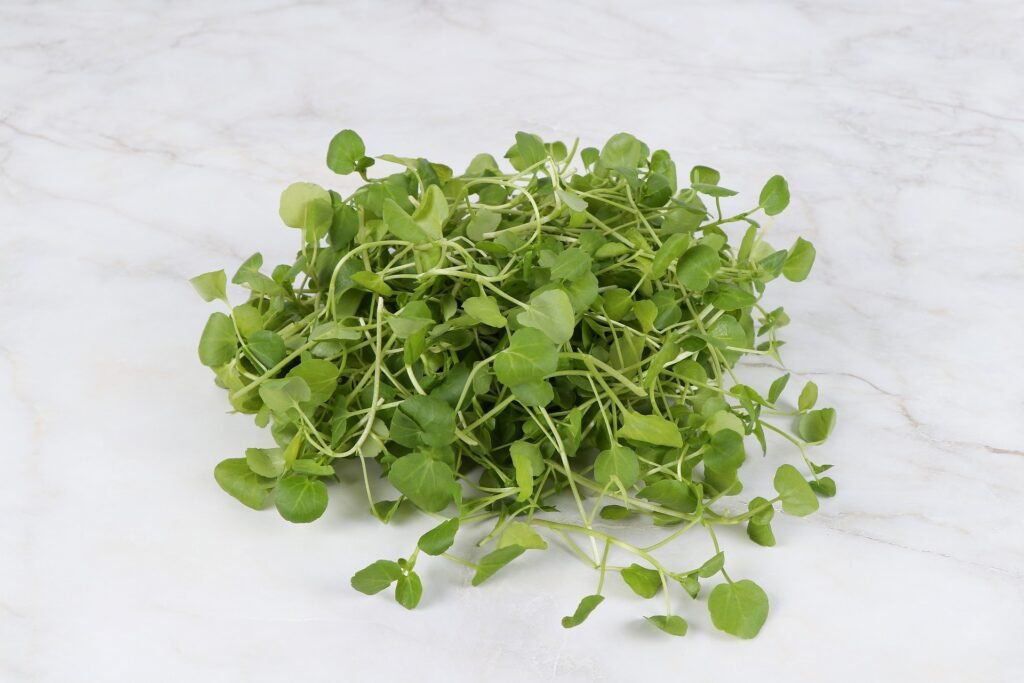
Watercress (Nasturtium officinale) is like the cool kid in the vegetable garden. It’s a water-loving perennial herb that belongs to the mustard family (Brassicaceae). Don’t worry if that sounds fancy – we’ll break it down for you! Watercress has peppery leaves and young stems that add a zesty kick to salads, soups, or sandwiches. Let’s dive into the world of watercress and learn how to grow it step by step!
1. Choosing the Right Seeds
Start your watercress adventure by selecting high-quality seeds. Head to your local nursery or garden center. Opt for disease-resistant varieties – healthy seeds mean happy watercress! 🌱
2. Timing Is Everything
Watercress thrives in cool weather. Plant it early in spring or late summer. Why? Because these little greens need time to mature during the cool days of fall. Plus, they taste better after a few light frosts. So, embrace the chill! 🌿
3. Sun, Soil, and Space
Watercress loves its sunshine! Find a sunny spot in your garden – think 6 to 8 hours of direct sunlight per day. The soil should be well-draining and moderately fertile. Mix in some compost or aged manure to keep your watercress happy. Raised beds work wonders too! 🌞🌱
4. Planting Your Peppery Greens
Sow the seeds just below the soil surface, about 1/4 inch deep. Space them roughly 3 to 4 inches apart. If you’re growing watercress in a container, choose a wide planter that’s at least 6 inches deep. No need for support – watercress is fuss-free! 🚿
5. Tender Loving Care
Keep the soil moist – watercress loves its water! Whether indoors or outdoors, consistent moisture is key. Trim off any flower stalks that appear – they signal the end of the season. And watch out for pests – show them the garden gate! 🚪

6. Harvesting the Zest
Around 4 weeks after planting, your watercress will be ready. Harvest from the bottom up – start with the outer leaves. Twist them gently until they break free. Voilà! You’ve got homegrown, peppery goodness. 🥬
Say goodbye to store-bought greens and embrace the satisfaction of harvesting fresh watercress from your backyard. Happy gardening, leaf-loving friends! 🌱🥗
Related Reading
USU Extension – https://extension.usu.edu/yardandgarden/research/watercress-in-the-garden
Farm Plastic Supply – https://farmplasticsupply.com/blog/how-to-grow-watercress-indoors-and-outdoors

Leave a Reply